The Brue test !
In this article, we’ll be talking about the Brue test. This test enables you to calculate your Maximal Aerobic Speed. From this, we can estimate maximum oxygen consumption.
There are two Brue tests:
- the Brue test behind the bike,
- and the Brue test with ground markers.
1.How to calculate your VMA using the Brue test: behind the bike
Equipment needed for this test :
- A regular cyclist at the pace set by the test soundtrack
- A bike with known characteristics
- brue behind the bike test chart
- A person to call out the landing at each participant’s stop.
This test can also be performed alone, using a treadmill.

How to calculate your VMA with the Brue behind-the-bike test
2.Test procedure:
This is a continuous progressive test.
In cold weather, a warm-up can be added, although the slow starting speed is normally used as a warm-up.
Moreover, participants are placed in single file behind the cyclist. It’s best to place them in descending order of their expected VMA. In this way, the best runners will be right behind the cyclist.
The cyclist, for his part, will be provided with a test soundtrack that dictates the pace. Each beep corresponds to a pedaling lap. Riders simply have to follow the cyclist.
Moreover, the starting speed for this test is 8 km/h. It increases every 30 seconds by 0.3 km/h.
The test stops when the participant can no longer keep up with the pace set by the cyclist. The last level reached corresponds to the participant’s maximum aerobic speed.

3.Advantages/disadvantages
- This test has the advantage of being quick to set up. Unlike other tests, there are no studs to set up, so no track to measure. Motivation is also a factor, as the riders follow the bike in front, and the main aim is to stay with it. What’s more, the riders must “simply” follow the cyclist. They won’t have to set a pace.
- What’s more, to ensure that the distance between the cyclist and the last rider is not too great, it’s important to ensure that there aren’t too many of them when carrying out this test. Finally, the main drawback is that you need to be able to set a metronome according to the bike’s characteristics, i.e. the number of teeth per chainring, the number of teeth per pinion and the perimeter of the rear wheel.
4.How to calculate your VMA using the Brue test: ground markers
Equipment required:
- An athletics track (ideally)
- Markers every 25 metres (using an odometer)
- Soundtrack included with SportBeeper
- Step chart
Test sequence
Once again, this is a progressive continuous VMA test.
But, The aim of the test is to be at stud height at each sound signal.
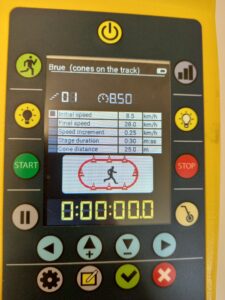
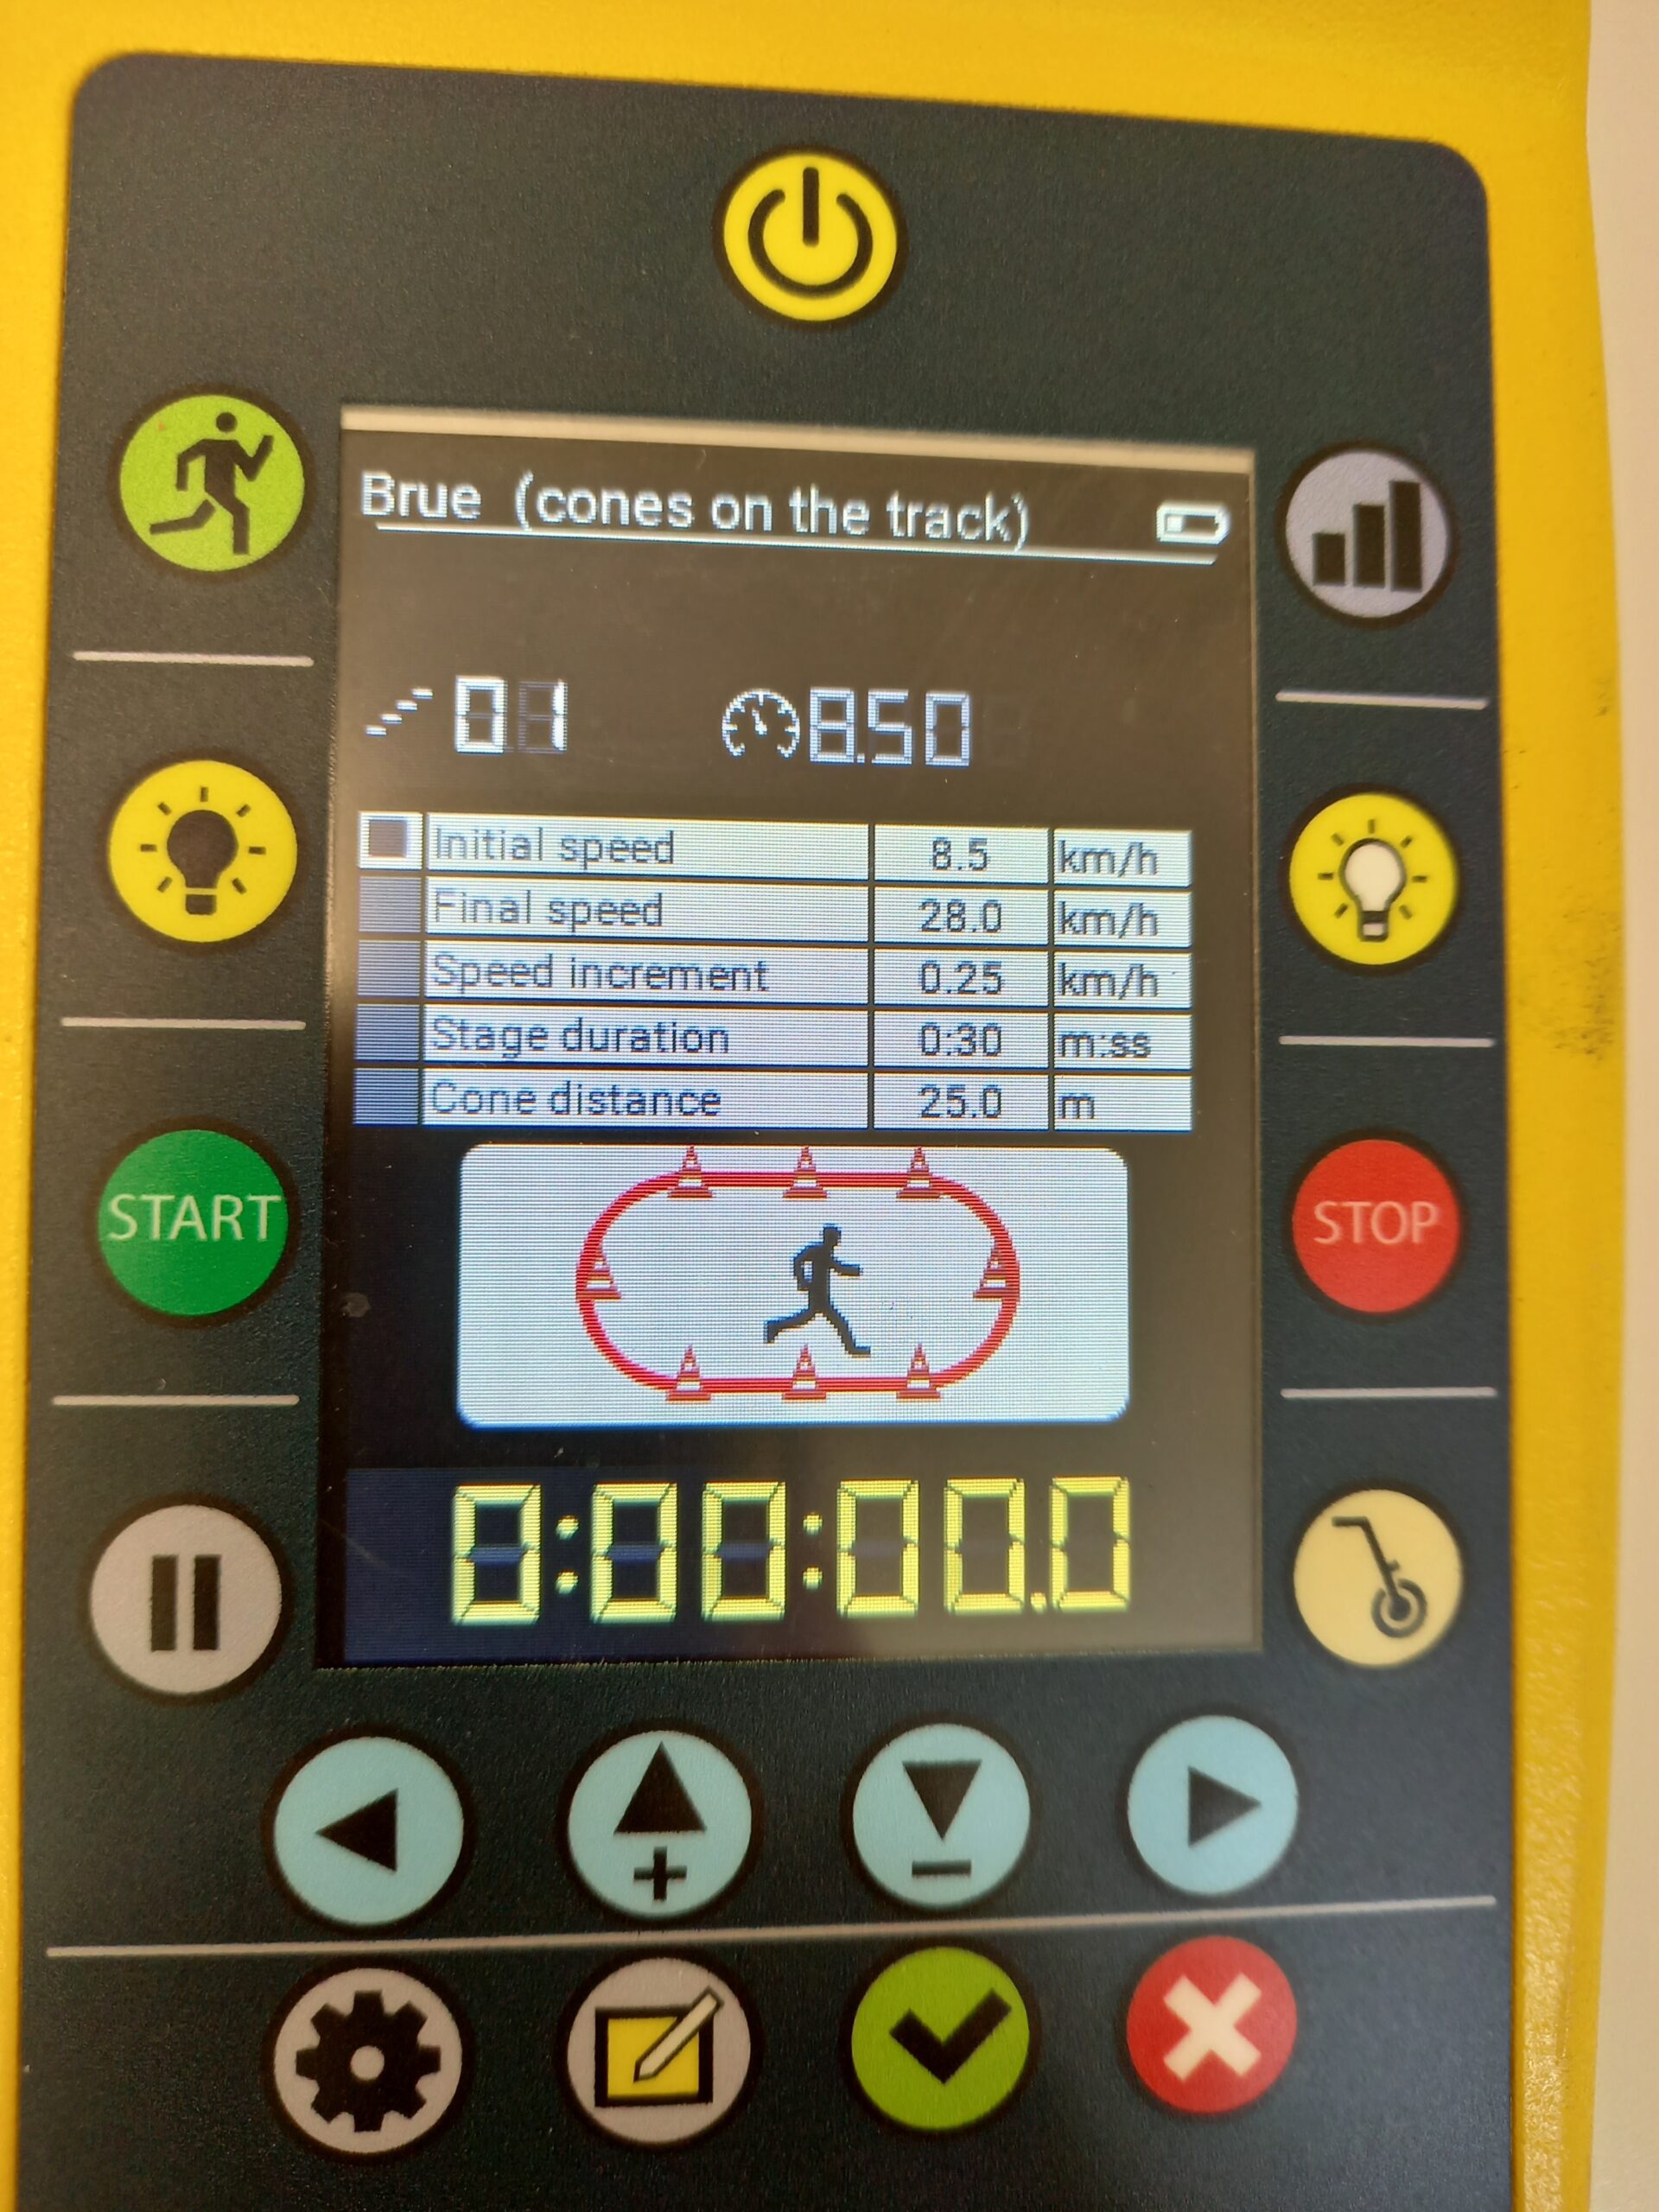
The test starts at a speed of 8.5 km/h. Stones are installed every 25 meters. Stops increase by 0.25 km/h each time. The duration of the stops is 30 seconds.
The test is over when the participant is no longer able to keep up with the pace (i.e. can’t be at the stud twice in succession). The last level reached is then taken into account. This is the VMA level.
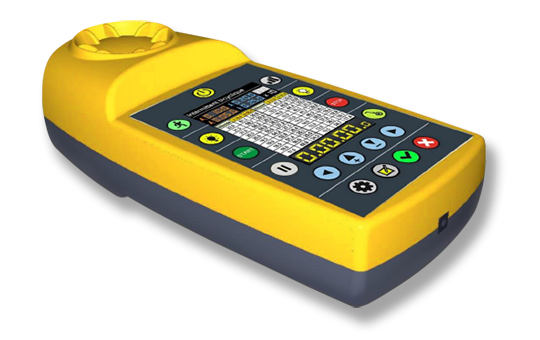
The sportbeeper pro allows you to calculate your VMA using the Brue test !
Advantages:
First, the test is fairly simple to set up. All you need to do is place studs every 25 metres. What’s more, unlike the Brue test behind the bike, the number of participants can be greater, as there can be up to 3 participants per pole.
Disadvantages :
Secondly, with 3 participants per block, the observer(s) must be able to see all the participants.


